To make removing the cake layers from the pan easier, I use Baker’s Joy® brand baking spray, which combines nonstick cooking spray with a little flour. I also favor using gel food coloring, as I find the gels are both easier to use and more vivid than liquid coloring. You want this cake to be brightly colored so be generous with the gels!
Color me baked
This rainbow cake recipe is all done from scratch—that means no cake mix. This is a simple vanilla cake with vanilla frosting but colored with enthusiasm! Here are a few things I do to make it easy:
To make removing the cake layers from the pan easier, I use Baker's Joy® brand baking spray, which combines nonstick cooking spray with a little flour. I also favor using gel food coloring, as I find the gels are both easier to use and more vivid than liquid coloring. You want this cake to be brightly colored so be generous with the gels!

Homemade: Rainbow Celebration Cake
Ingredients
- 2¼ cups all-purpose flour
- 1 tablespoon baking powder
- ¼ teaspoon kosher salt
- ¾ cup (6 ounces) unsalted butter, softened
- 1½ cup sugar
- 3 large eggs
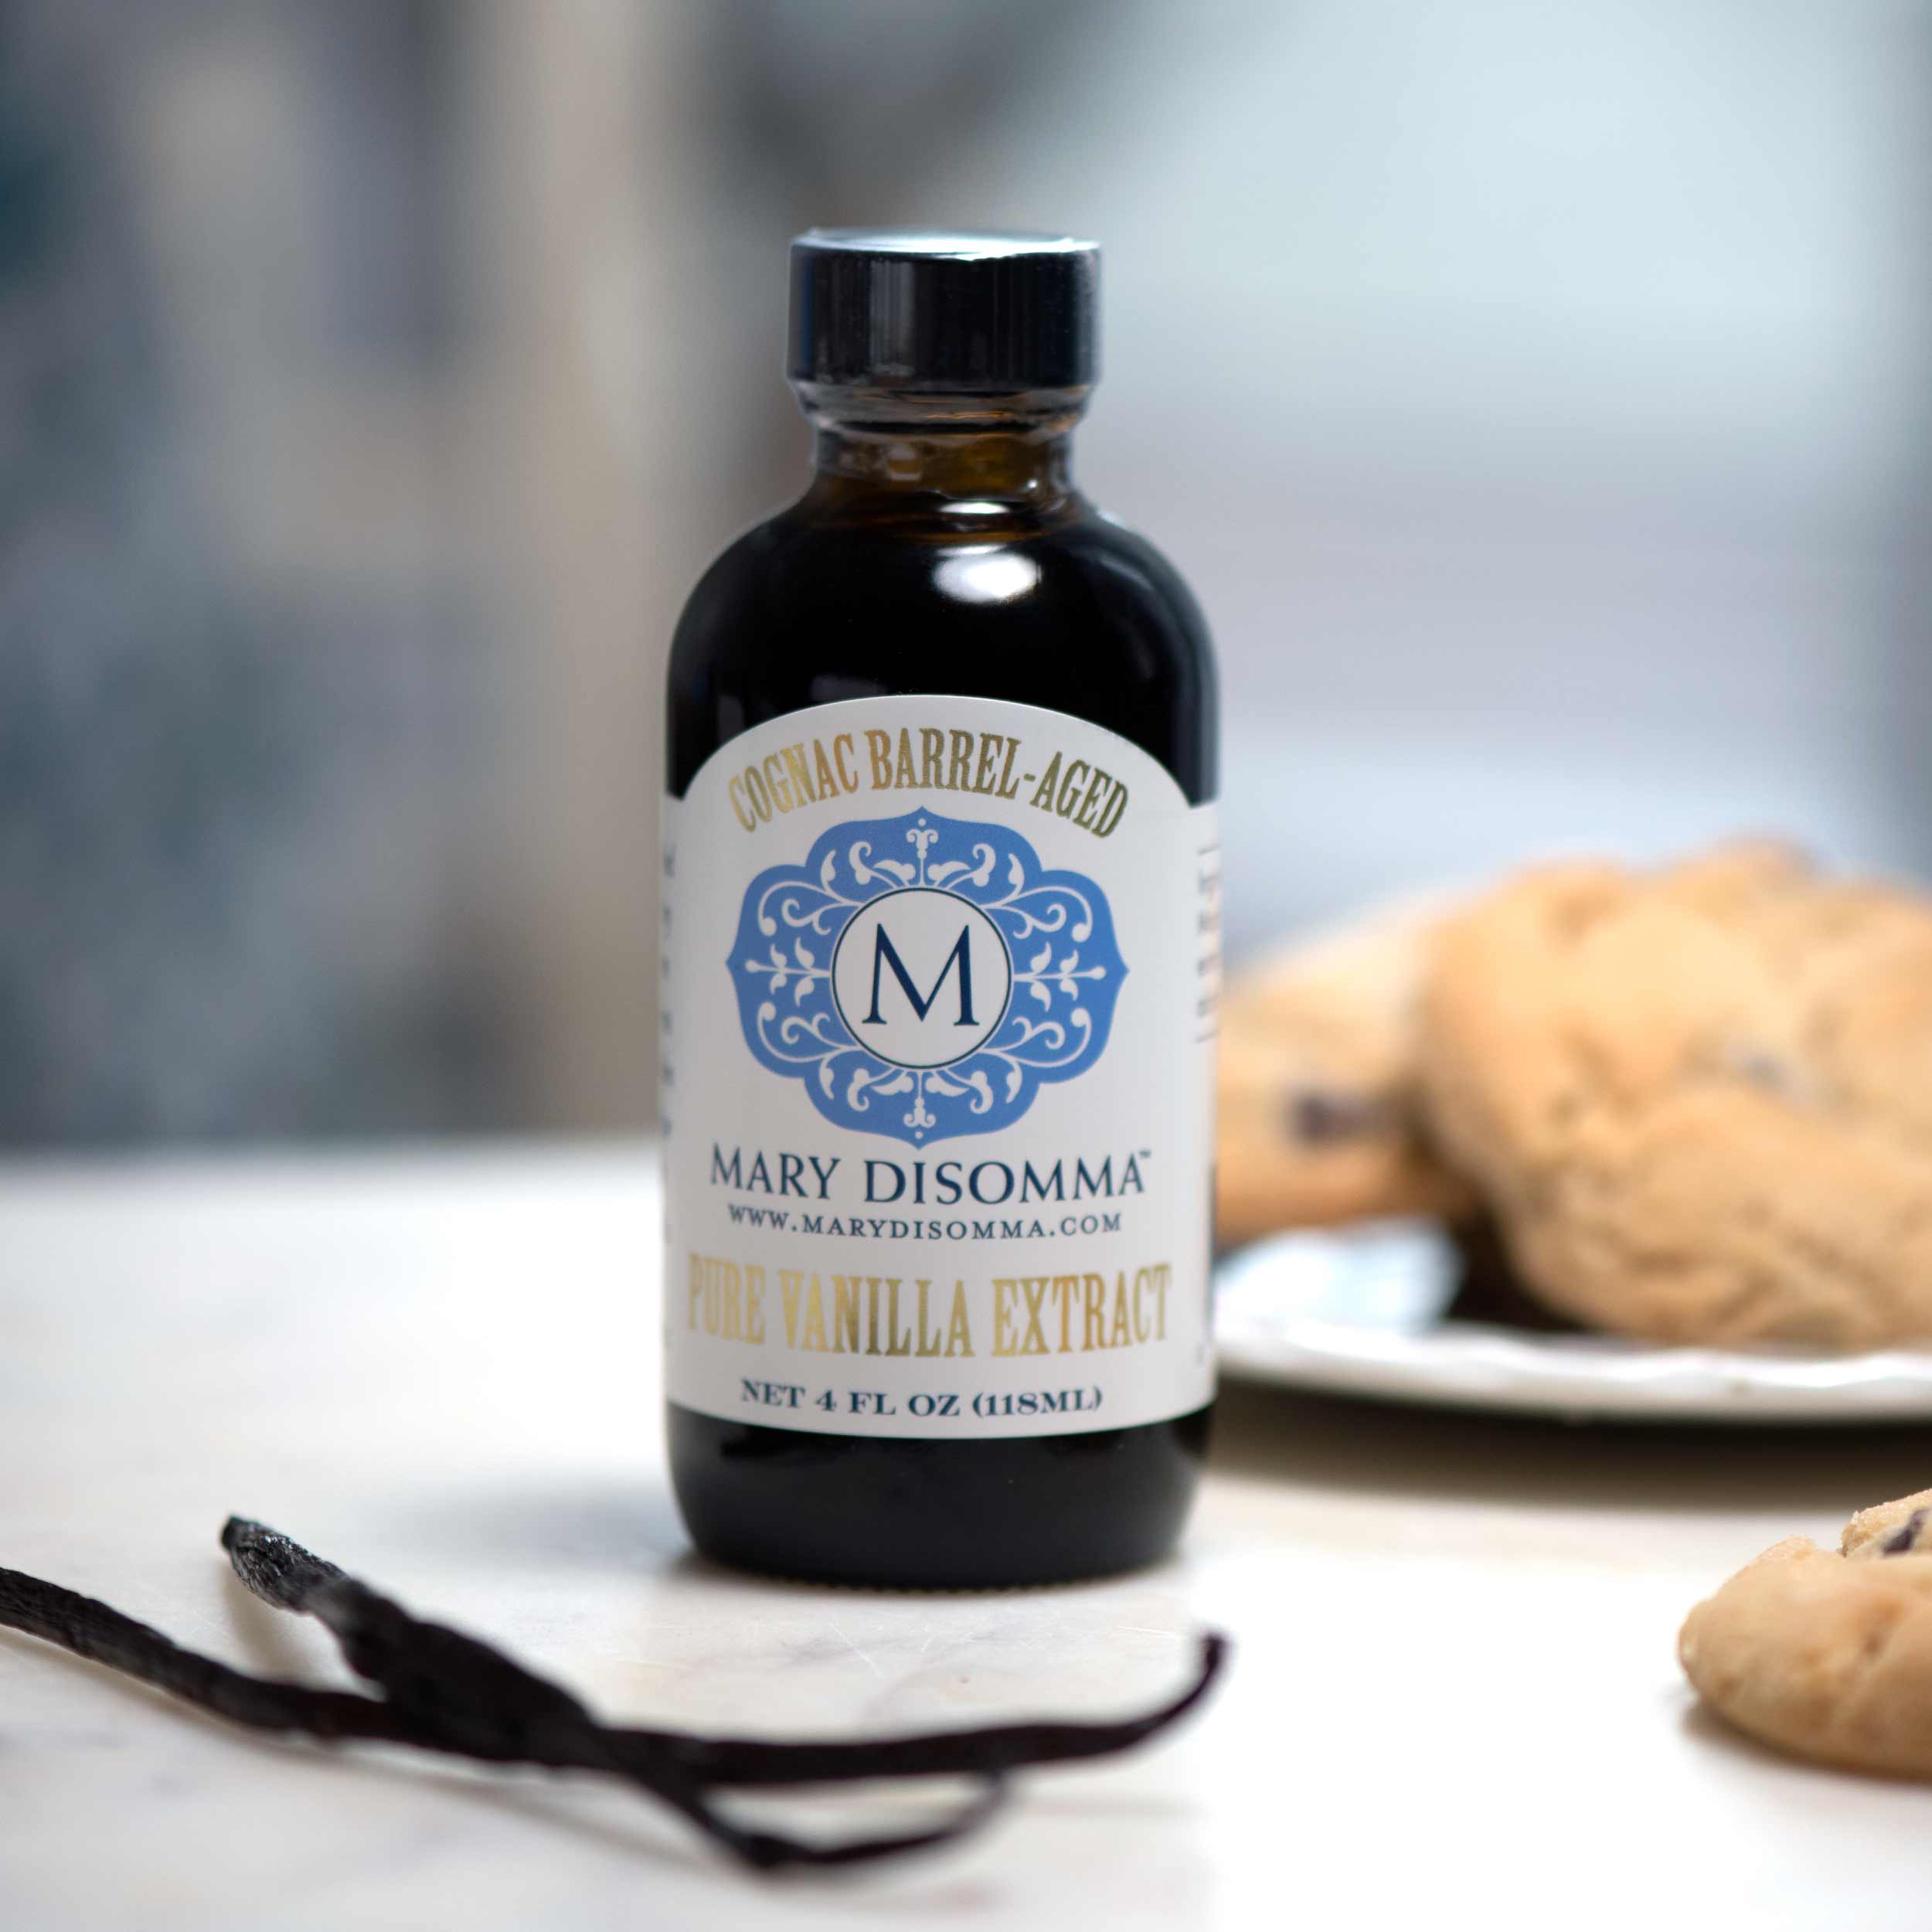
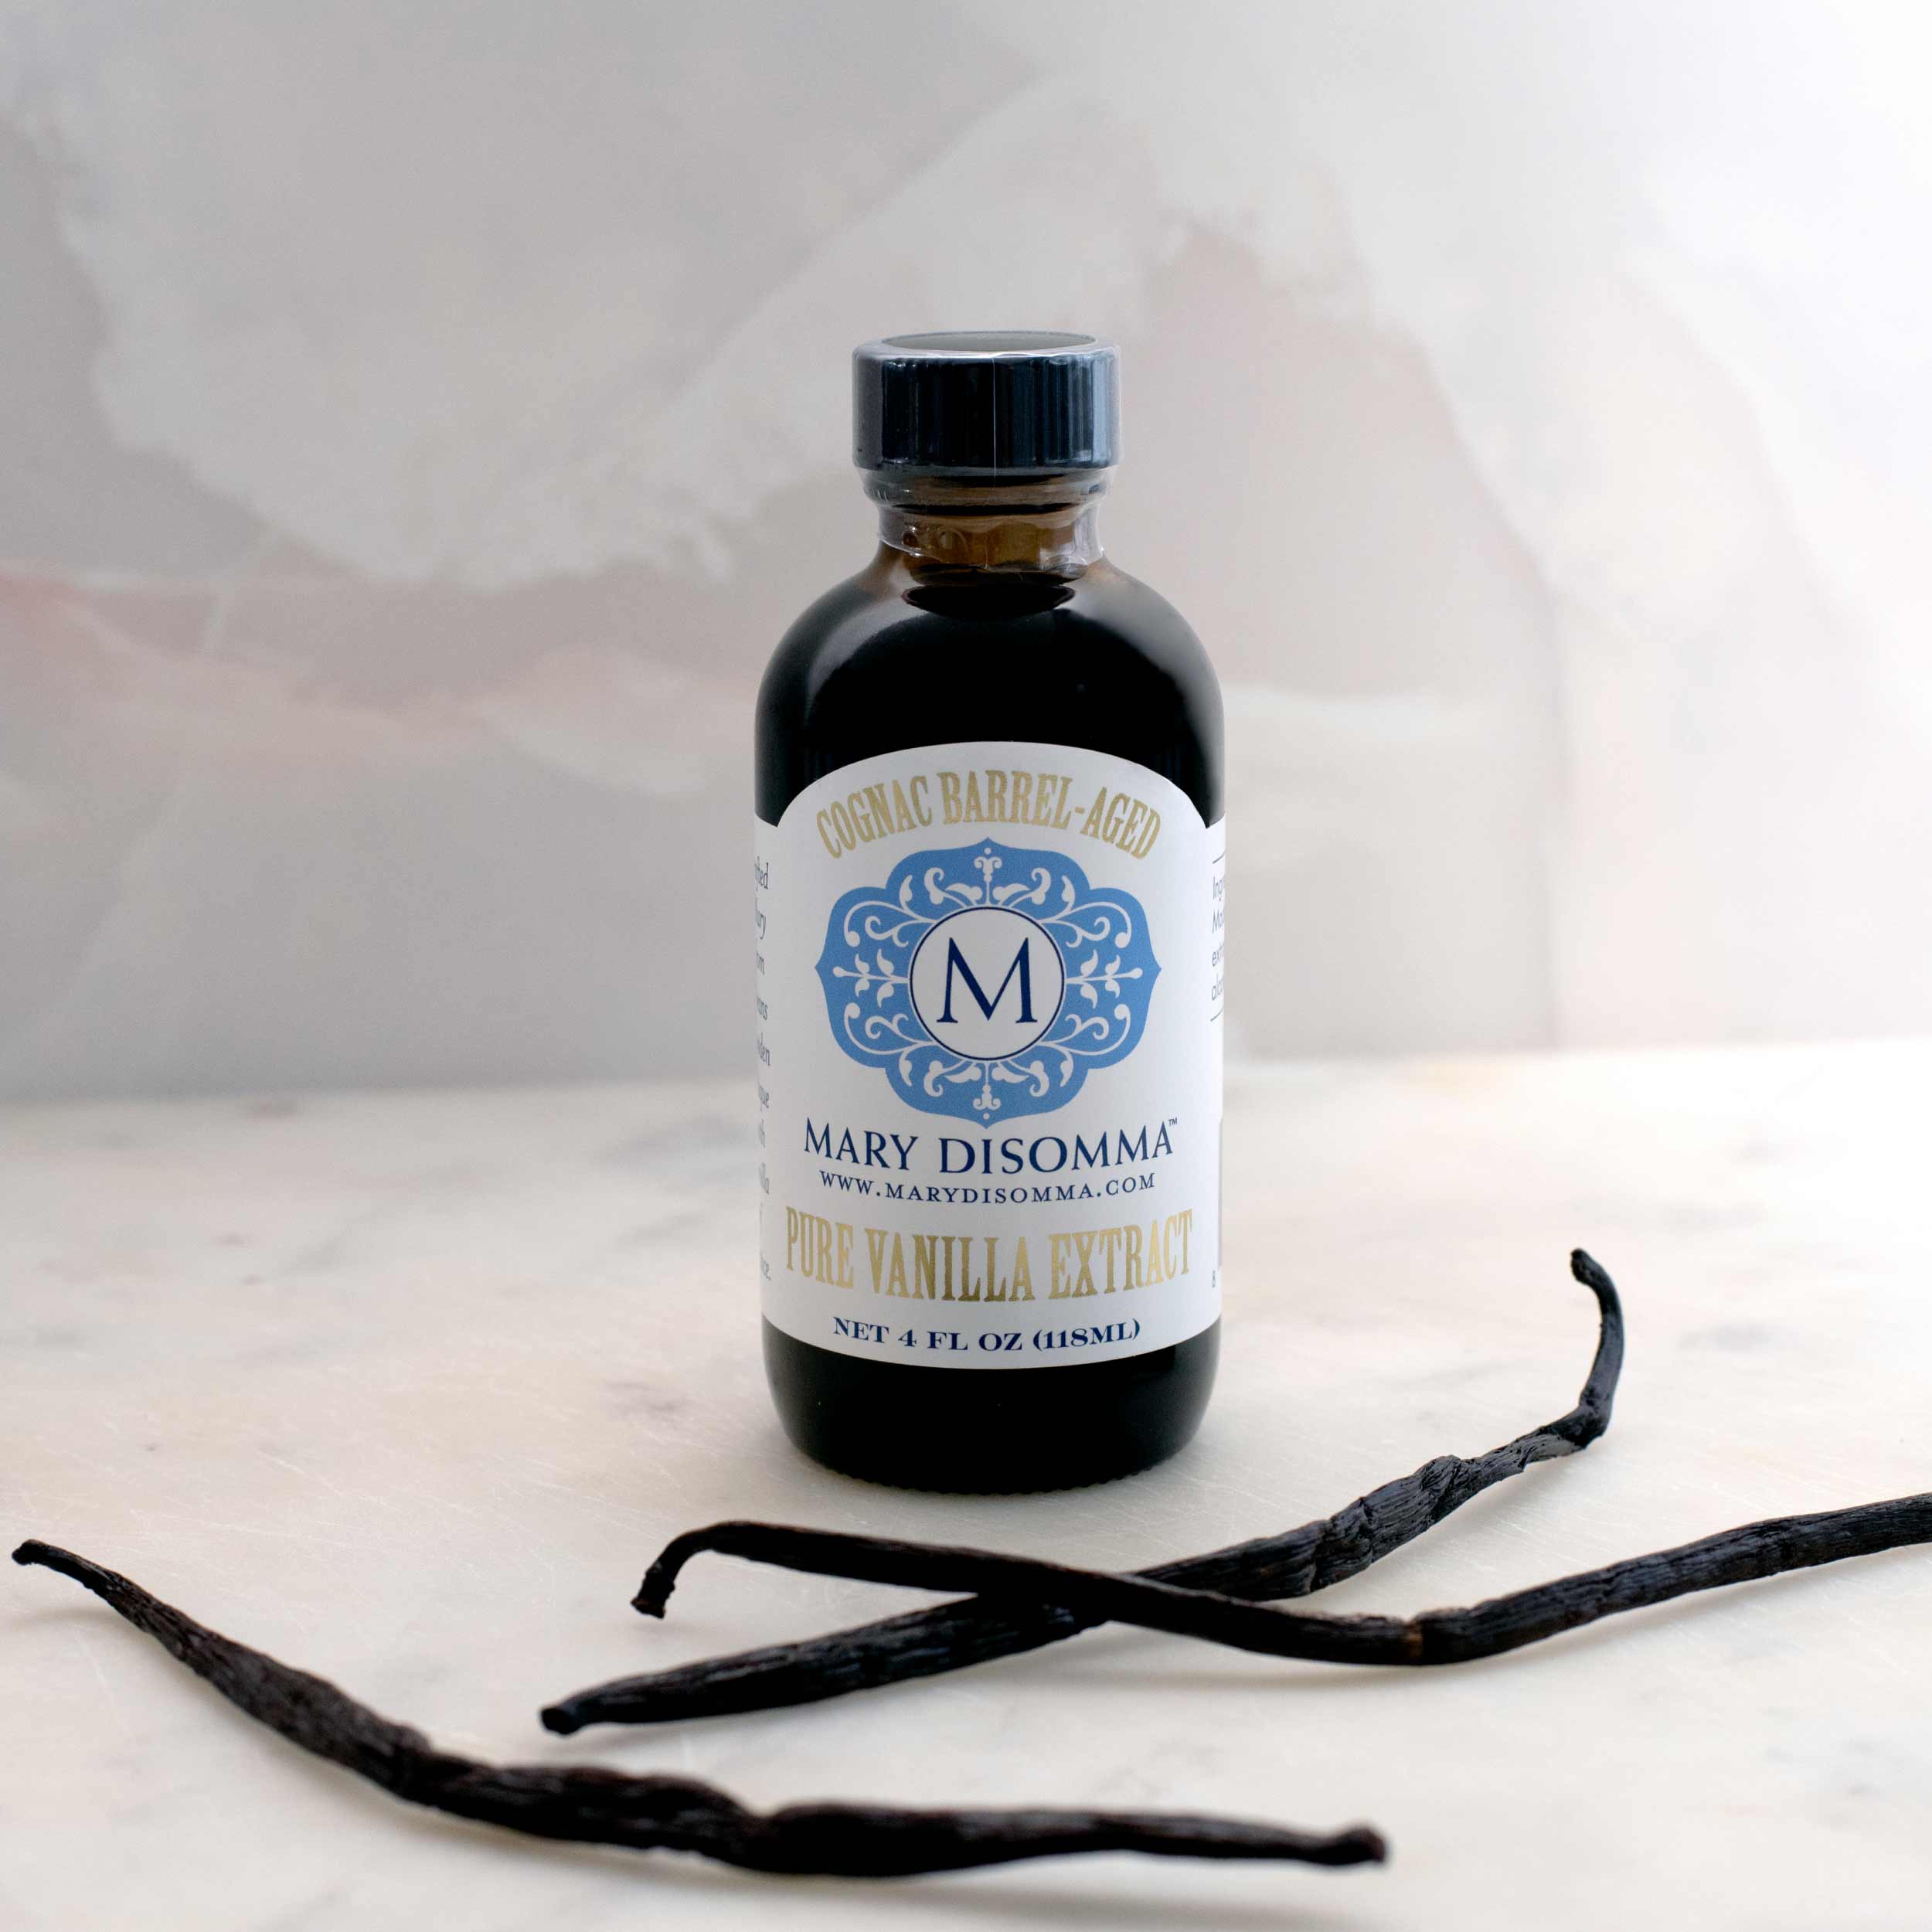
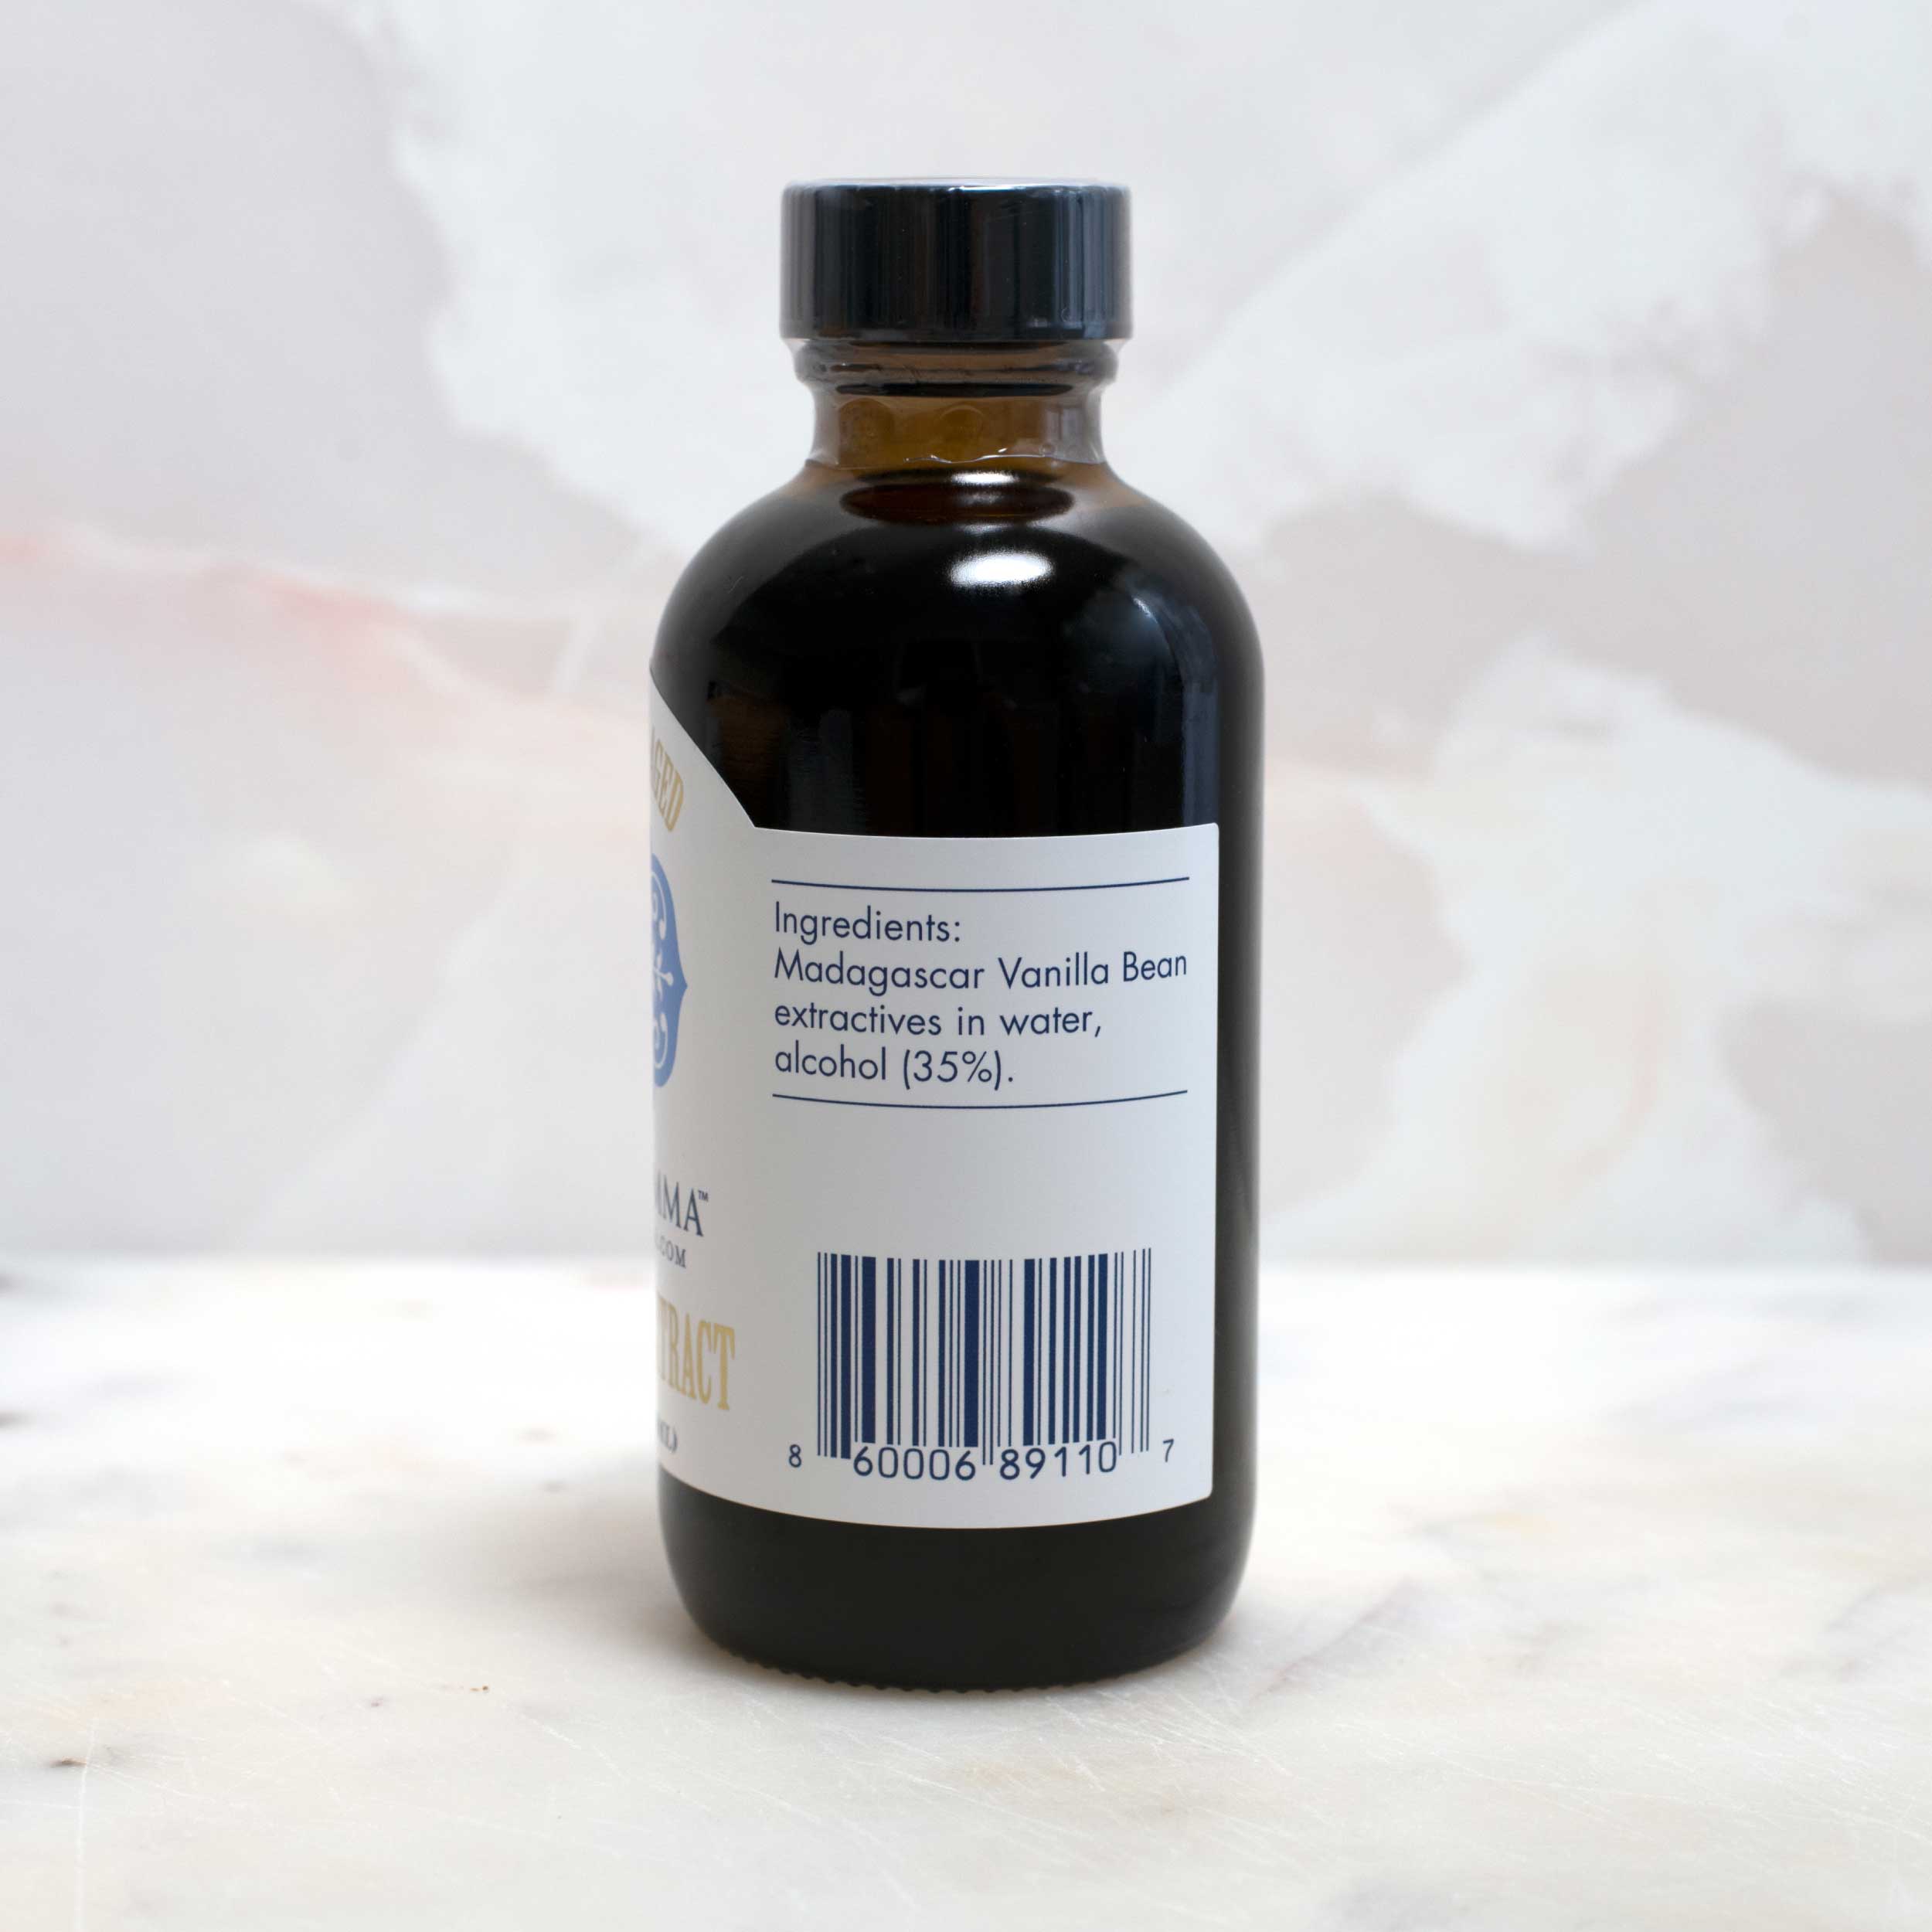
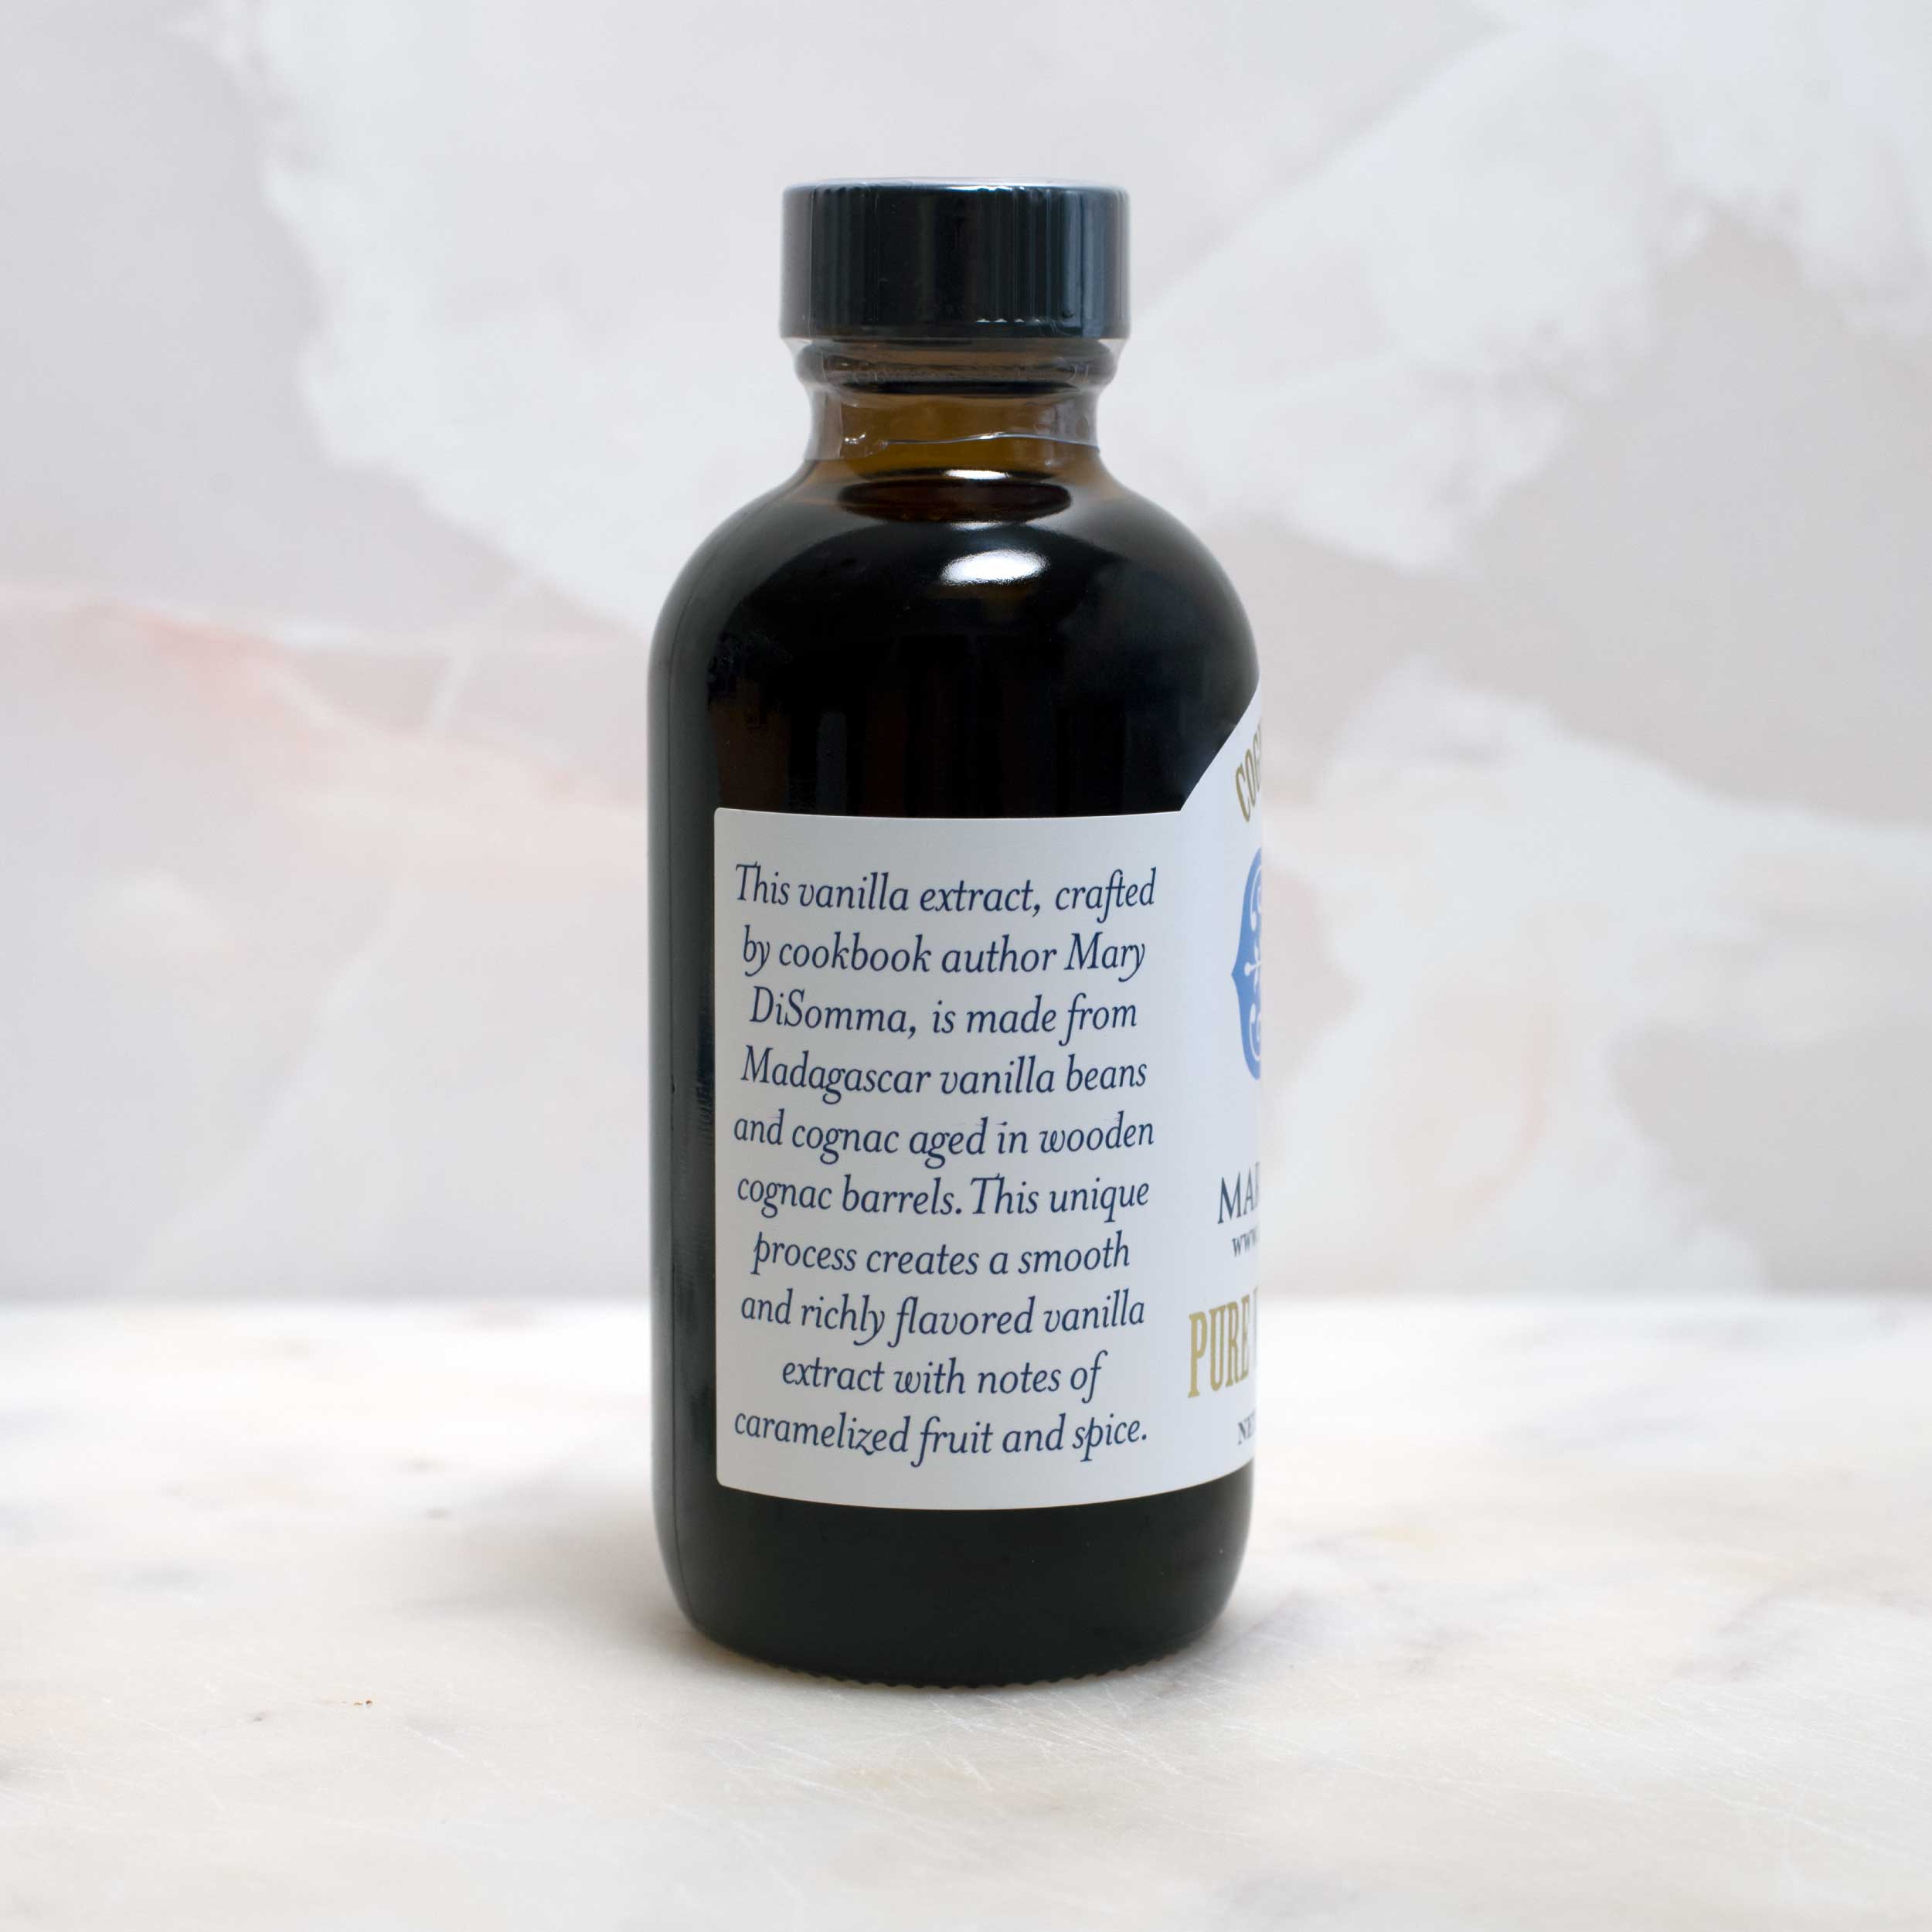
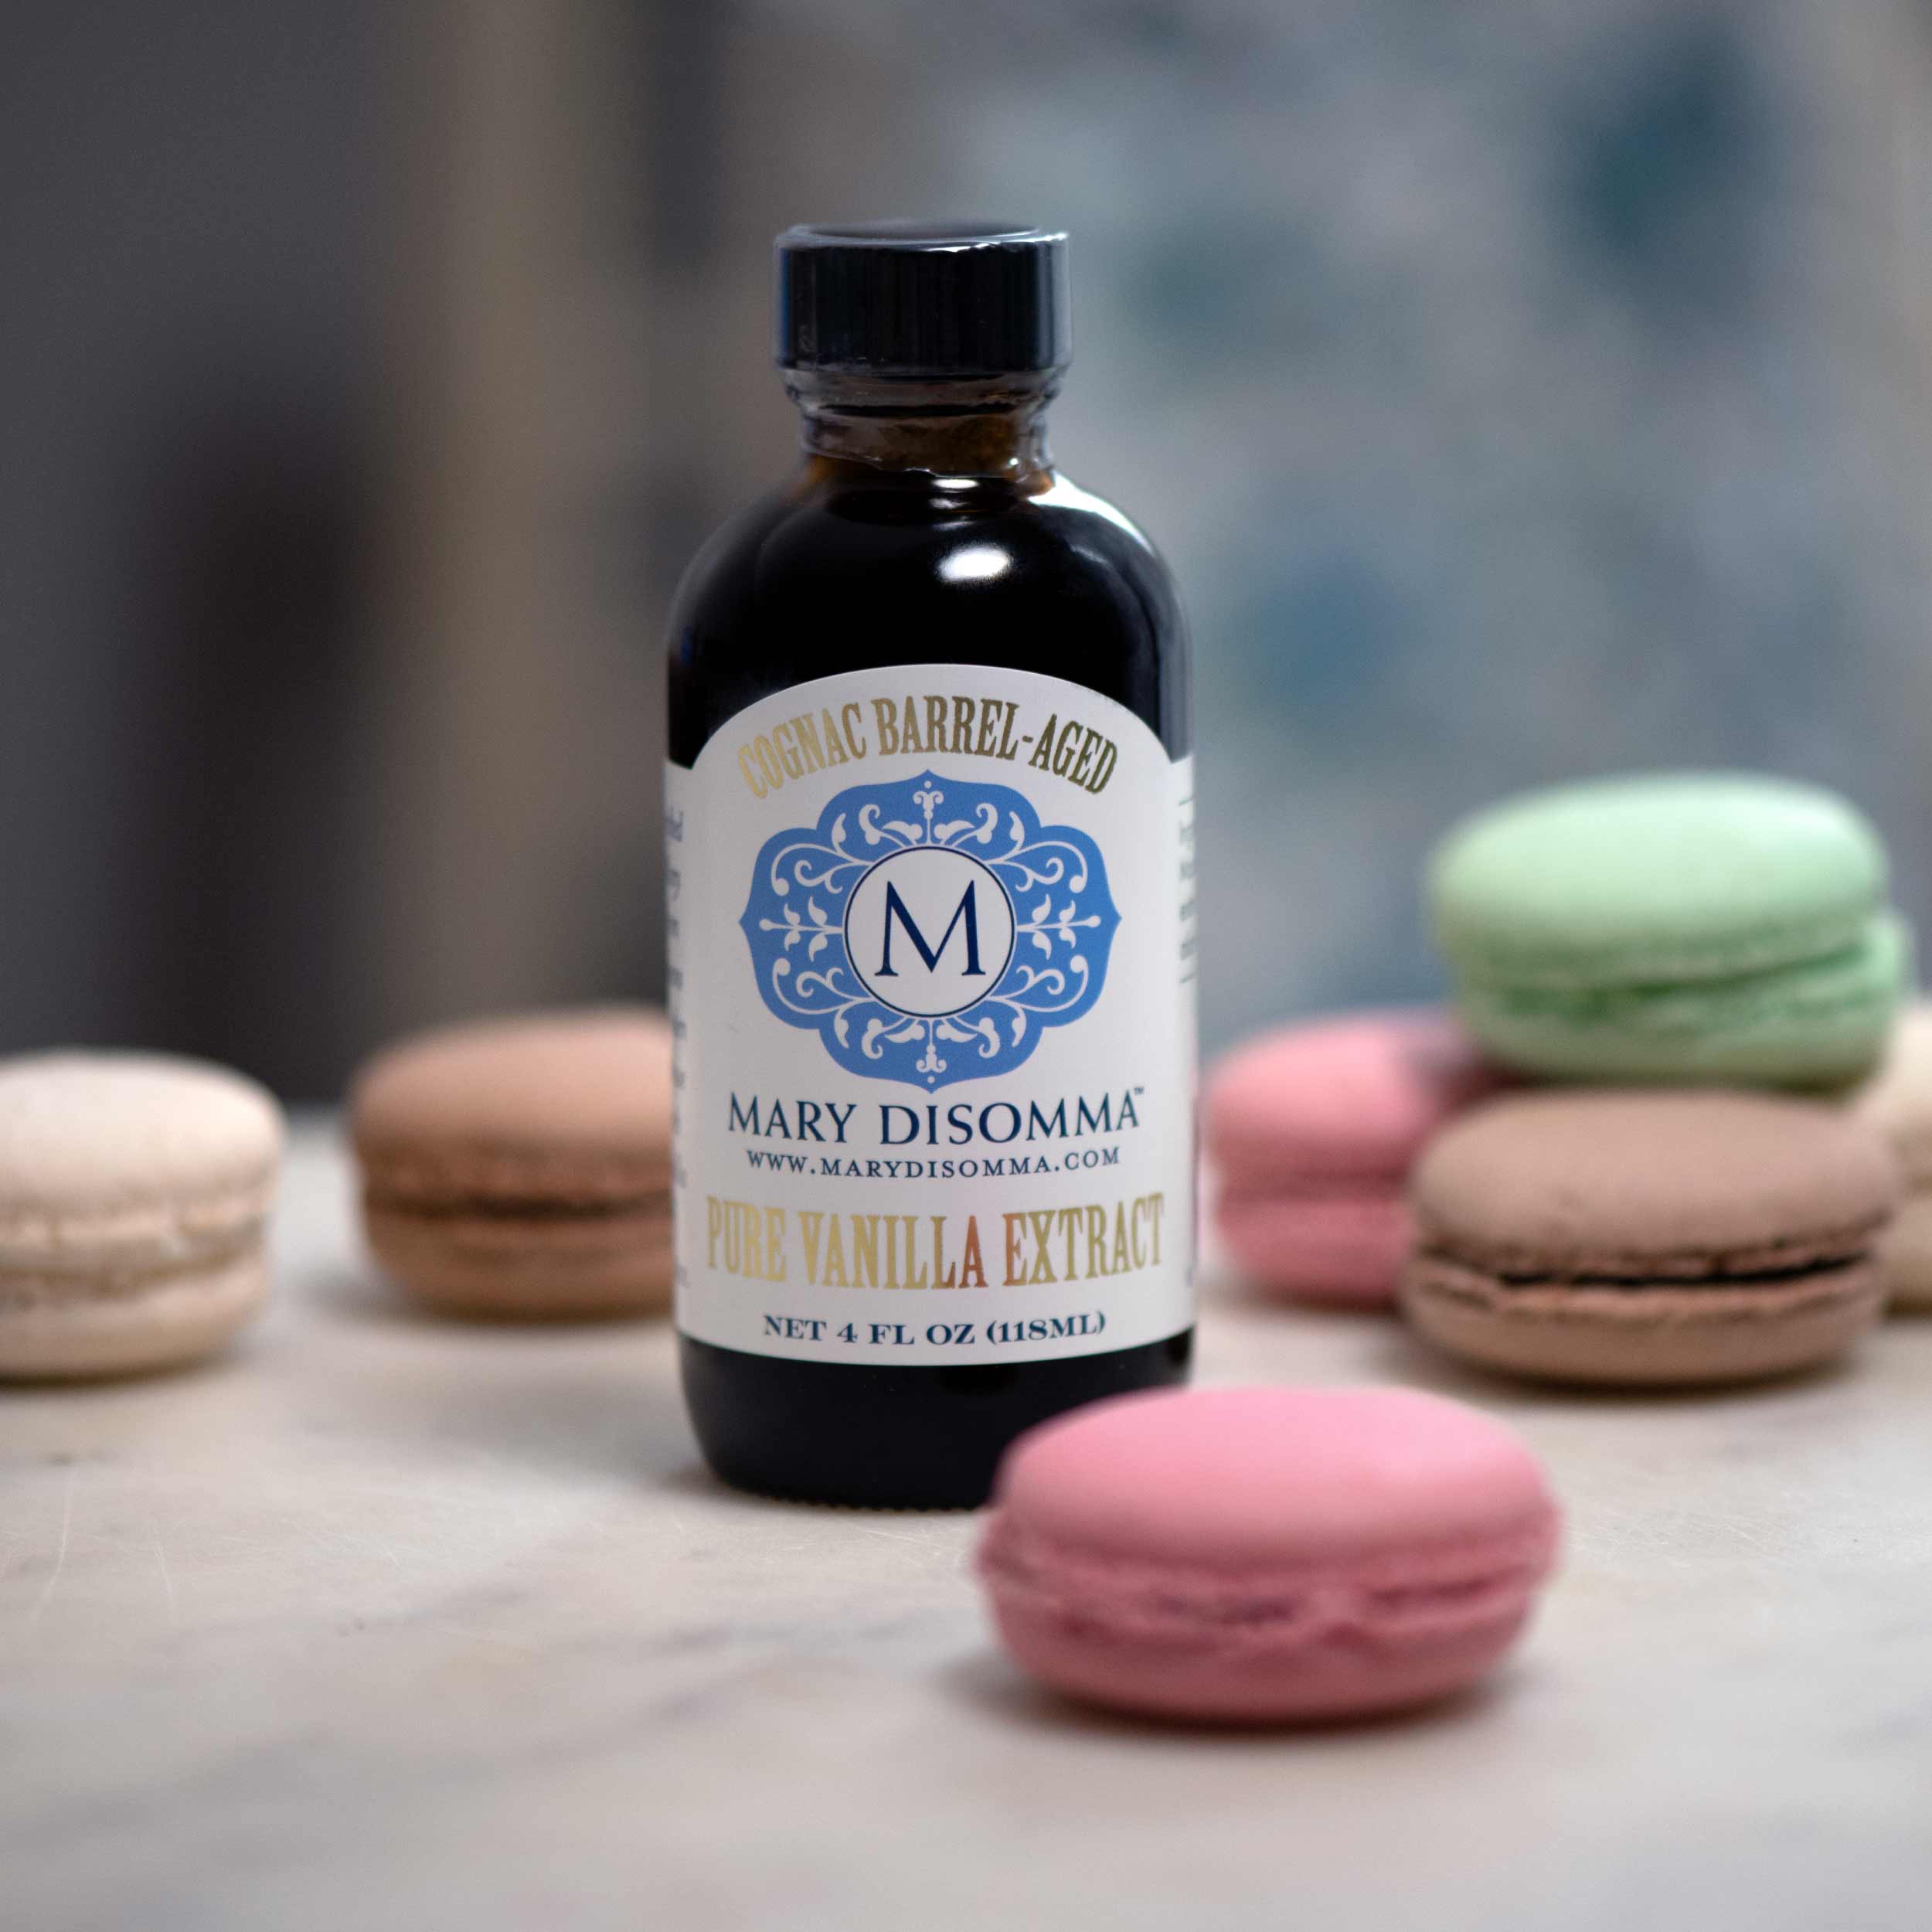
- 2 teaspoons vanilla extract
- 1⅓ cup whole milk
- 6 different colors of brightly colored food gel coloring
- Baker’s Joy® brand cooking spray
- 1 cup (8 ounces) unsalted butter, softened
- 1 pound cream cheese, cut into cubes, softened at room temperature
- 2 teaspoons clear vanilla extract, or almond extract
- 7¾ cups (32 ounces) confectioners’ sugar
- Colored sprinkles and/or nonpareils
- 2 to 3 cups various small candies (such as M&M’s® and/or nonpareils) and colorful sprinkles
Instructions
- Preheat the oven to 350 degrees. Prepare the cake pans by spraying the bottom and side of each pan with the cooking spray.
- In a bowl, whisk together the flour, baking powder and salt. In the bowl of an electric stand mixer, combine the softened butter and sugar. Beat on medium high until light and fluffy; about 4 minutes. Scrape down the side of the bowl periodically to incorporate evenly. Add the vanilla extract and beat for 30 seconds to combine.
- Reduce speed to medium and add the eggs, one at a time, beating well after each addition. Reduce speed to medium-low and add 1/3 of the flour mixture followed by half of the milk. Add 1/3 of the flour followed by the remaining milk. End with the remaining flour and mix until combined. Be careful not to overmix.
- Divide the batter evenly into six mixing bowls. You should have about 1 cup of batter in each bowl. Try to have these as evenly dispersed as possible so the layers come out the same height. Color the batters individually with bright colors. A great combination is purple, green, blue, orange, yellow, and bright pink. Pour the batter into the prepared pans.
- To evenly bake the cakes, bake only two at a time. Place two of the cake pans in the middle rack of the oven. Bake for 8 minutes then rotate the pans. Bake for approximately 6 to 8 more minutes or until a toothpick inserted in the center of the cake comes out clean. Remove and place cakes on a cooling rack. Continue baking the cakes two pans at a time.
- Place parchment paper on your work area. When cakes are cooled, carefully flip cakes out onto the parchment paper. Make sure the cakes are completely cooled before you proceed with cutting them out.
- Prepare the frosting
- In the bowl of a stand mixer beat the butter until light and fluffy; about 3 minutes. Use a spatula to push down butter from the side of the bowl. With mixer on medium, add the cream cheese pieces a few at a time, mixing until smooth. Again, use a spatula to push down the cream cheese mixture from the side of the bowl.
- With mixer on medium-low, slowly add the confectioners’ sugar. Mix until well-combined and smooth in consistency.
- Using a 2-inch round cookie cutter, carefully cut the center out of 5 of the cake rounds. Remember to keep one of them whole: that will be your top layer. Make sure to wipe the cookie cutter between cutting out the rounds in each layer, making sure to remove any residual cake particles left inside. You don’t want to transfer colors to the other layers.
- Fill your pastry bag with frosting. On the bottom of your cake board, pipe a ring of frosting a little smaller than the cake size. Place one of the cut layers on the board or stand. The frosting will help keep the cake from moving while you put the layers together. Pipe the frosting evenly on the cake layer. You want to have the same amount of frosting on each layer. I find that forming the rings of frosting with a pastry bag fitted with an Ateco 806 tip (½-inch round) helps keep the layered amounts even. Try to do 3 or 4 “rings” of frosting on each layer. Use your offset spatula to even out the frosting. Avoid getting frosting in the “hole.”
- Add the second layer, aligning the cut-out holes. Frost the layer as described above. Continue this method until you have all five layers with holes assembled and frosted. Now it’s time to fill your celebration cake!
- Carefully pour in sprinkles and small candies like M & M’s® into the cake. To make filling the cake easier, use a measuring cup with a spout, a funnel, or a piece of parchment paper made into a cone. Pat down the sprinkles so they are firmly packed in.
- Flip over the last cake layer so the flat side becomes the top. Place on top of the five layers. Now, use your off-set spatula to lightly frost the top and side of the cake. This is called a crumb layer. You want this thin layer of frosting to be set before finishing the cake. Place the cake in the refrigerator for 30 minutes to firm the crumb coating layer.
- Remove the cake from the refrigerator and frost with the remaining frosting. Decorate the top and side of the cake with lots and lots of colorful sprinkles. The cake can be prepared one day ahead, but I personally can never wait to dive right in!